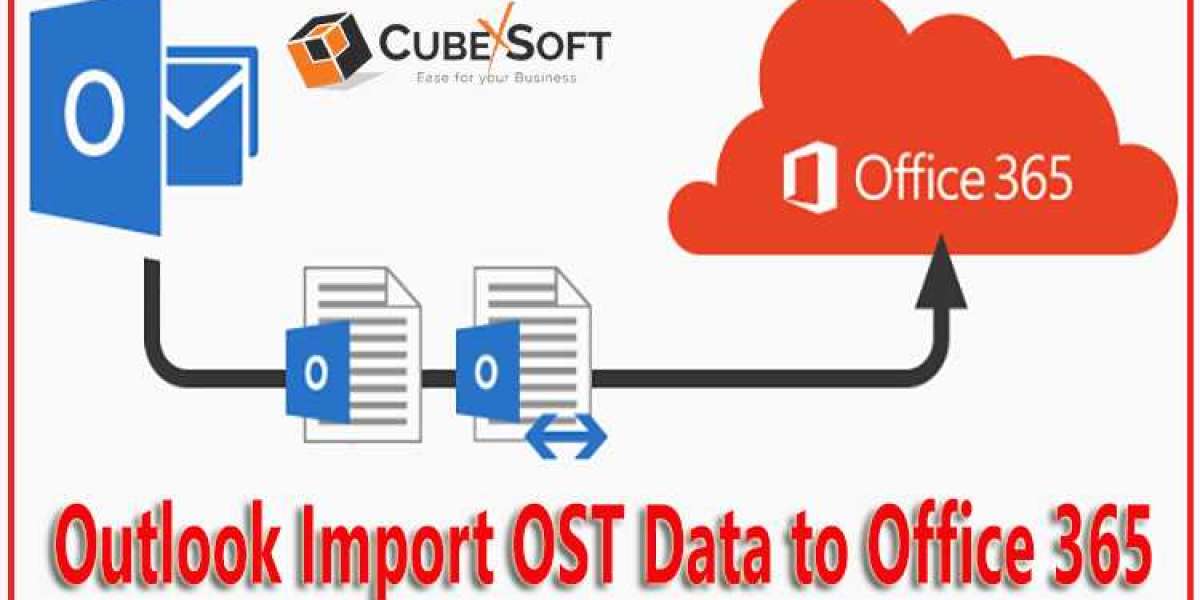
This article will describe how to migrate OST file to Microsoft 365 account, including emails, contacts, calendars, attachments, and many more. Microsoft Office 365 experts have verified and suggested all steps.
Introduction to OST and Office 365
OST:
OST stands for Offline Storage Table, which is a data file format used by Microsoft Outlook to store a copy of a user's mailbox data on their local computer.
When using Microsoft Exchange Server, Outlook uses the OST file to allow users to access their mailbox data even when they are offline. Any changes made to the mailbox data while offline are stored in the OST file and are automatically synchronized with the Exchange server when the user connects to the network again.
OST files can also be used with other email accounts, such as IMAP and POP accounts. In this case, the OST file is used to store a local copy of the user's mailbox data on their computer, allowing them to access and work with their email, contacts, calendar, and other data even when they are not connected to the internet.
It is important to note that OST files are tied to a specific email account and computer, and cannot be easily moved or transferred to another computer or user. However, they can be backed up and restored in case of data loss or system failure.
Microsoft Office 365:
Office 365 is a subscription-based software suite that provides users with access to a range of Microsoft Office applications and other productivity services. It includes popular applications such as Word, Excel, PowerPoint, Outlook, OneNote, and many others.
Office 365 allows users to work from anywhere, on any device, as long as they have an internet connection. It offers cloud-based storage for files and documents, as well as online collaboration tools that allow multiple users to work on the same document simultaneously.
In addition to its standard desktop applications, Office 365 also includes online versions of Microsoft Office applications, as well as mobile apps that can be used on smartphones and tablets. The subscription-based model means that users always have access to the latest versions of Office applications and updates, without needing to purchase new software or licenses.
What Is It Reasons to Move OST Files to Office 365 Cloud?
There are several reasons why someone might want to convert an OST file to Office 365:
- Access mailbox data from anywhere: By converting an OST file to Office 365, you can access your mailbox data from anywhere, as long as you have an internet connection. This allows you to work remotely or from different devices without needing to worry about transferring files or data.
- Collaborate and share data: Office 365 includes collaboration tools that allow multiple users to work on the same document or project simultaneously. By converting an OST file to Office 365, you can easily collaborate and share your mailbox data with others in your organization.
- Automatic updates and backups: Office 365 is a cloud-based service that provides automatic updates and backups, ensuring that your mailbox data is always up-to-date and secure. This eliminates the need for manual backups and updates, saving time and reducing the risk of data loss.
- More storage space: Office 365 provides a large amount of cloud-based storage space for mailbox data, allowing you to store more data and attachments than a local OST file.
- Improved security: Office 365 provides advanced security features to protect your mailbox data from malware, phishing attacks, and other threats. By converting an OST file to Office 365, you can take advantage of these security features to keep your data safe and secure.
How to Migrate OST File to Microsoft 365 Manually?
Exporting OST files to Office 365 manually can be a bit of a complex process, but here are the basic steps to get started:
- Create a new Outlook profile: First, you'll need to create a new Outlook profile that is configured to use your Office 365 account. To do this, open the Control Panel on your Windows computer, click on "Mail," and then click on "Show Profiles." Click on "Add" to create a new profile and follow the prompts to configure it with your Office 365 account.
- Create a new PST file: Once you have created a new Outlook profile, you'll need to create a new PST file to store your mailbox data. To do this, open Outlook and click on "File" "Account Settings" "Account Settings." Click on the "Data Files" tab and then click on "Add" to create a new PST file. Choose a destination path to store the file and give it a name.
- Import OST data to the new PST file: Next, you'll need to import your OST to PST To do this, click on "File" "Open Export" "Import/Export." Select "Import from another program or file" and then select "Outlook Data File (.pst)." Choose the new PST file you just created and follow the prompts to import the OST data into the PST file.
- Upload the PST file to Office 365: Finally, you'll need to upload the PST file to your Office 365 account using the Office 365 Import service. To do this, go to the Office 365 Admin Center, click on "Data management" "Import." Follow the prompts to create a new import job, select the PST file you just created, and then choose the options for the import job. Once the job is complete, your OST data will be available in your Office 365 account.
It's important to note that this is a general outline of the process, and the specific steps may vary depending on your version of Outlook and Office 365, as well as other factors. If you're not comfortable with the process or encounter any issues, you may want to consider using a third-party tool i.e. CubexSoft OST Converter to automate the process or seeking assistance from a professional IT provider.
The Final Words!
In summary, OST (Offline Storage Table) files are data files used by Microsoft Outlook to store a copy of a user's mailbox data on their local computer. Converting an OST file to Office 365 can provide several benefits, including access to mailbox data from anywhere, collaboration and sharing capabilities, automatic updates and backups, more storage space, and improved security. Exporting an OST file to Office 365 manually involves creating a new Outlook profile, creating a new PST file, importing OST data to the new PST file, and uploading the PST file to Office 365 using the Office 365 Import service. However, the process can be complex, and it may be beneficial to use a third-party tool or seek assistance from a professional IT provider.